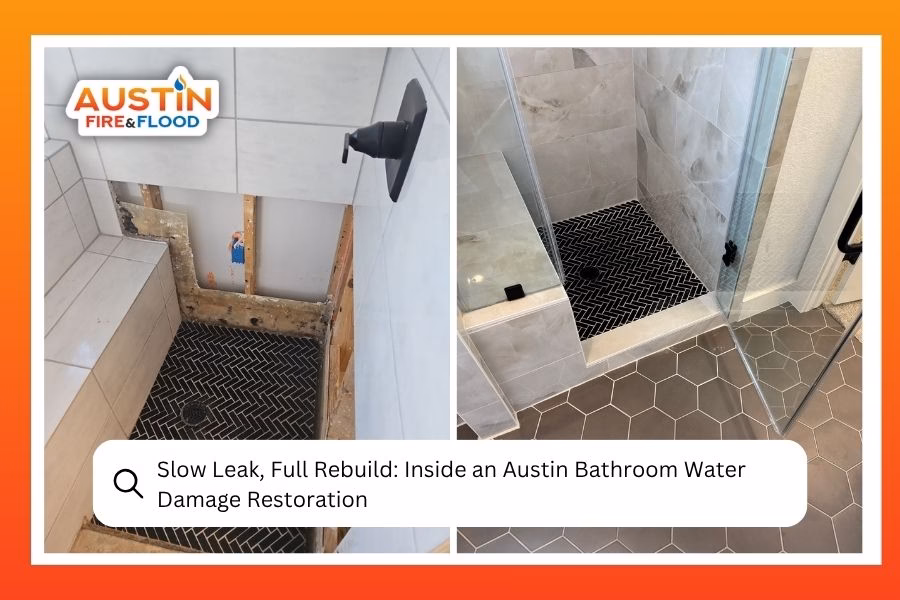
A homeowner in Austin called our team out for what they thought was a tiny problem: a faint stain along a baseboard and a musty smell that wouldn’t quit. By the time we left, our crew at Austin Fire & Flood had completed a full water damage restoration in the primary bathroom and adjoining walk-in closet, including controlled demo, structural drying, and a complete rebuild. It started with a phone call about a stain. It ended with a brand new shower.
The Call That Started It All
Most water damage we get called for didn’t start as an emergency. It started as a stain, a soft spot, or that one smell nobody could place. Slow leaks behind walls do their worst work quietly, which is exactly what happened here. The homeowner wasn’t panicking when they called. They were just curious.
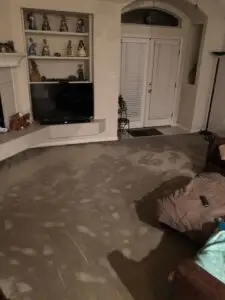
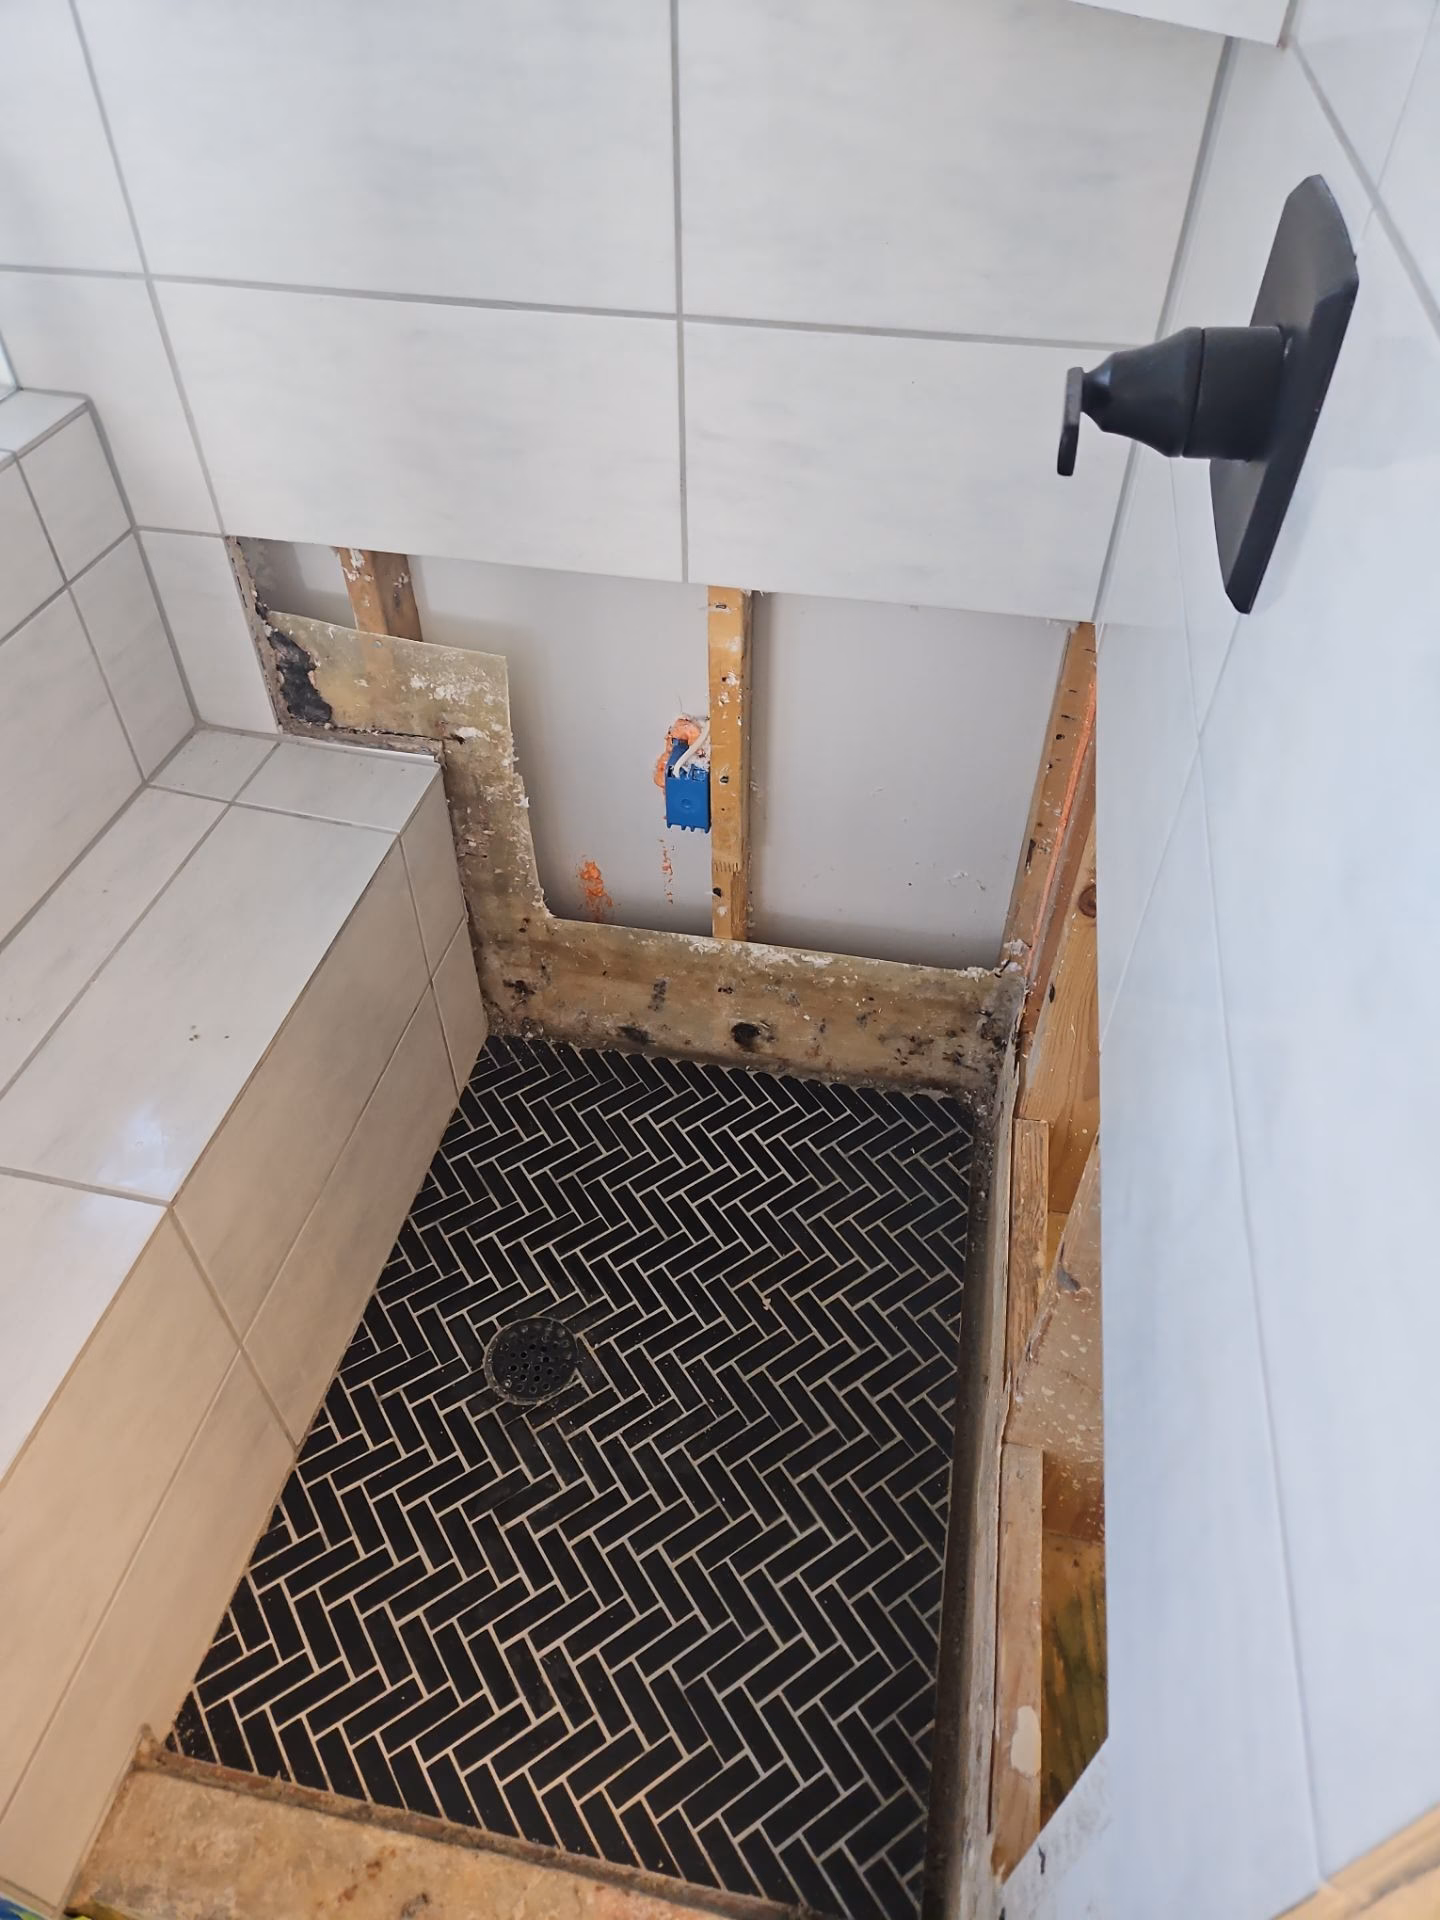
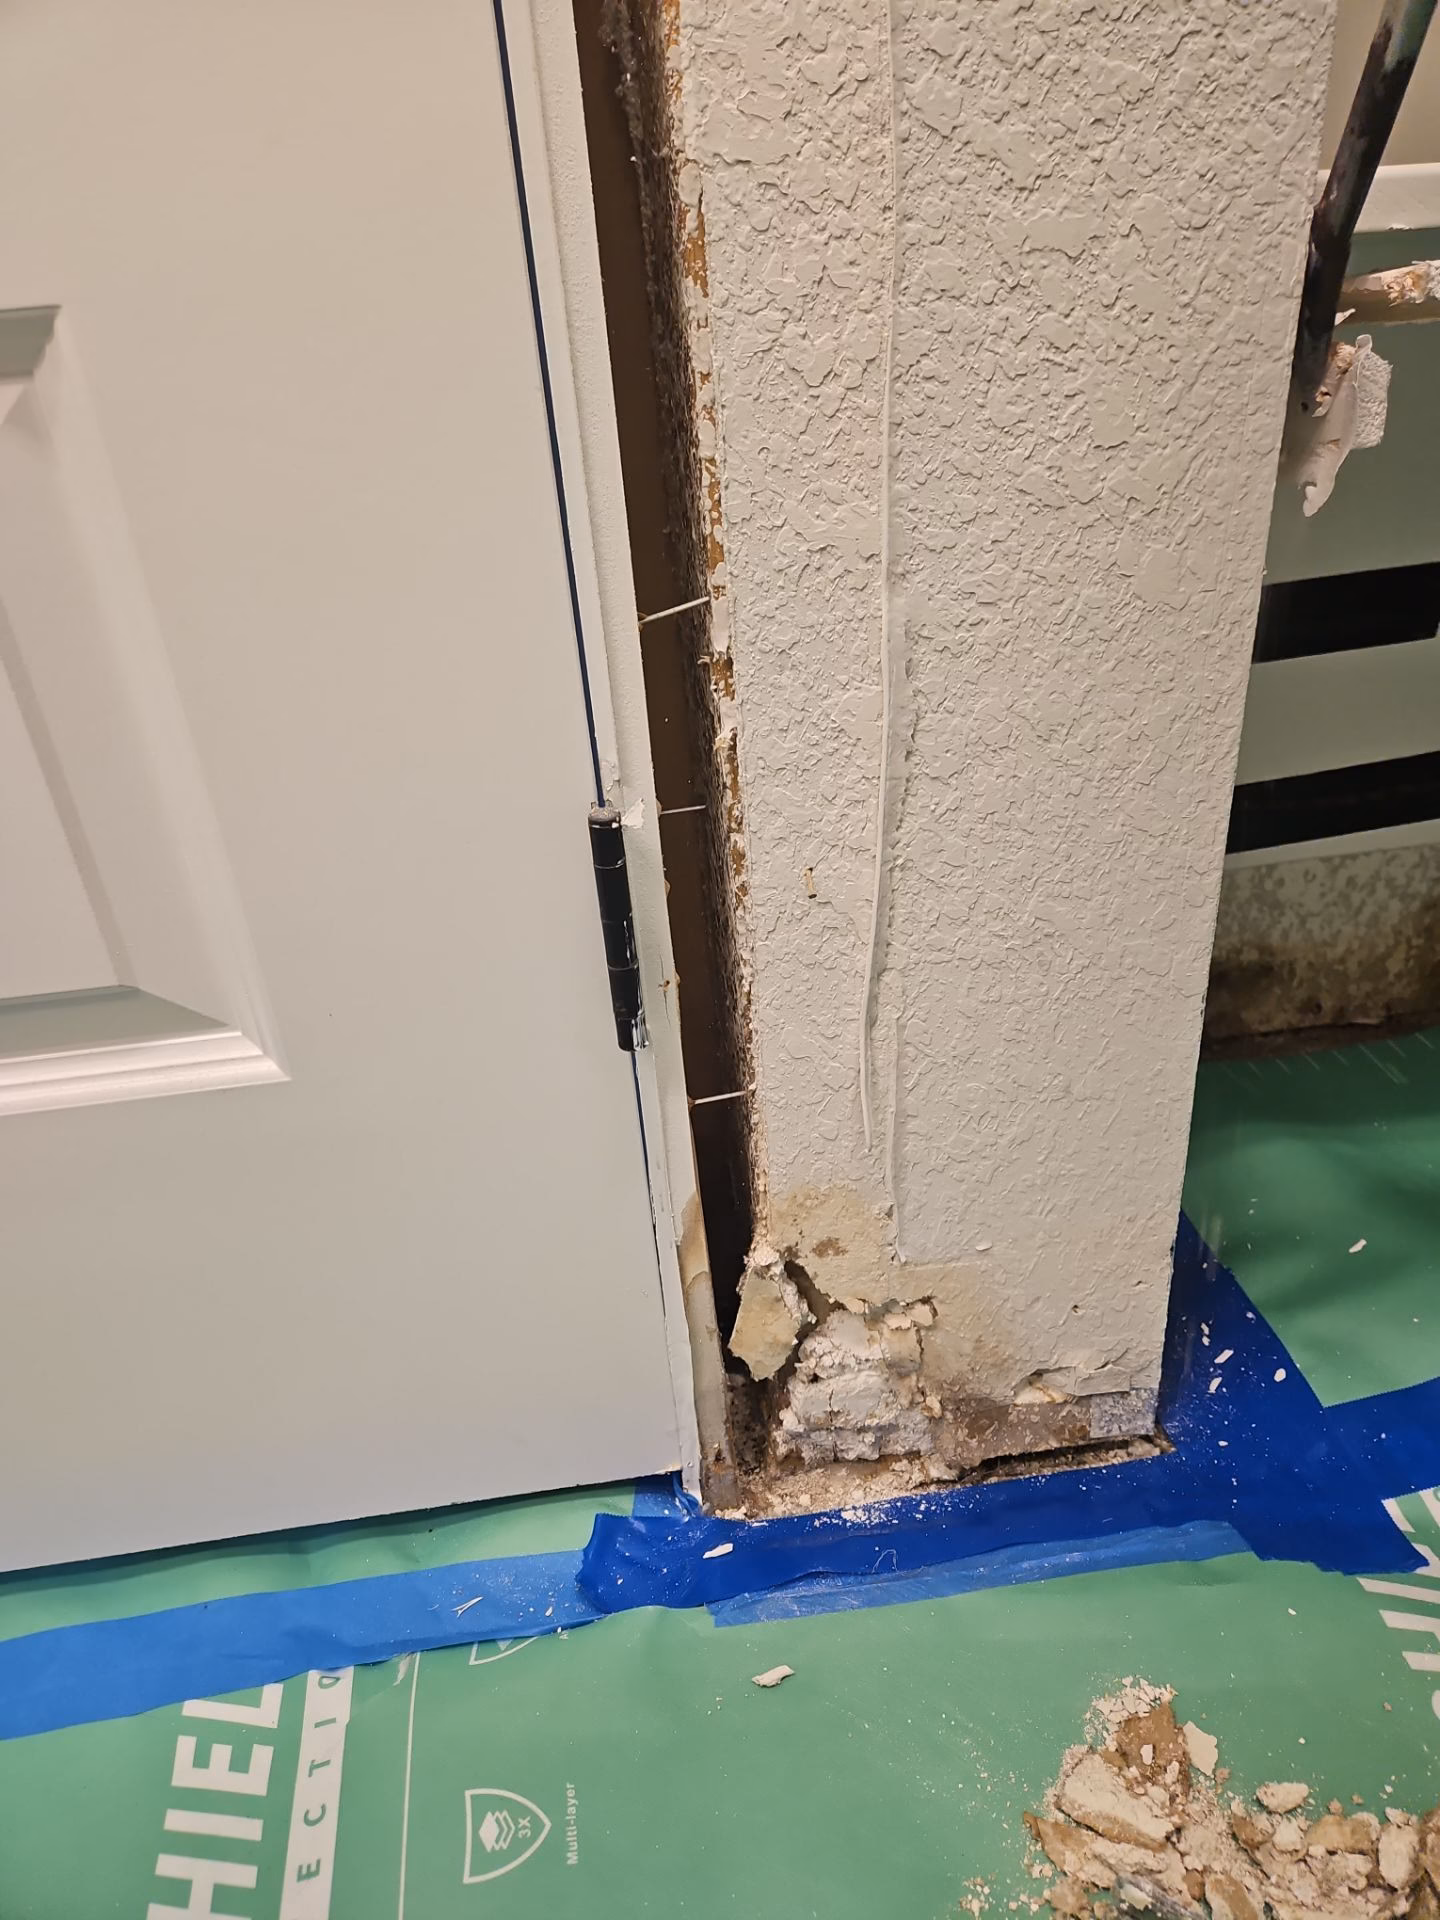
When our team arrived the same day, we did what any IICRC certified crew should do before touching a hammer. We mapped the damage first. Moisture meters across every wall, ceiling cavity, and floor section told a different story than the small stain suggested at the surface. Water had bled through the shower wall, past the framing, and into the adjoining walk-in closet on the other side of the partition.
Assessment phase: mapping moisture, opening cavities, and documenting the full scope before any demo work began.

|
|
|
How Slow Leaks Hide in Plain Sight
A long running leak doesn’t always announce itself. Slow leaks can soak drywall, baseboards, framing, and tile substrate for months before any visible sign shows up at the surface. By the time you smell something off or notice a faint discoloration, the damage behind the wall is often well past the cosmetic stage and into structural territory.
The EPA flags any moisture problem like this as a mold risk, especially in a humid climate like ours. That’s why we map first and demo second. Once we knew where the water had traveled, we could give the homeowner a real scope, not a guess. The closet, the vanity wall, and the shower were all part of the job now, not just the baseboard they’d called about.
Warning Signs Worth a Phone Call
- A baseboard that’s discolored, swollen, or pulling away from the wall
- A musty smell that lingers even after cleaning
- Tile or grout that flexes slightly when you press on it
- A soft spot in flooring near a bathroom or kitchen
Controlled Demo: Cutting Out the Damage
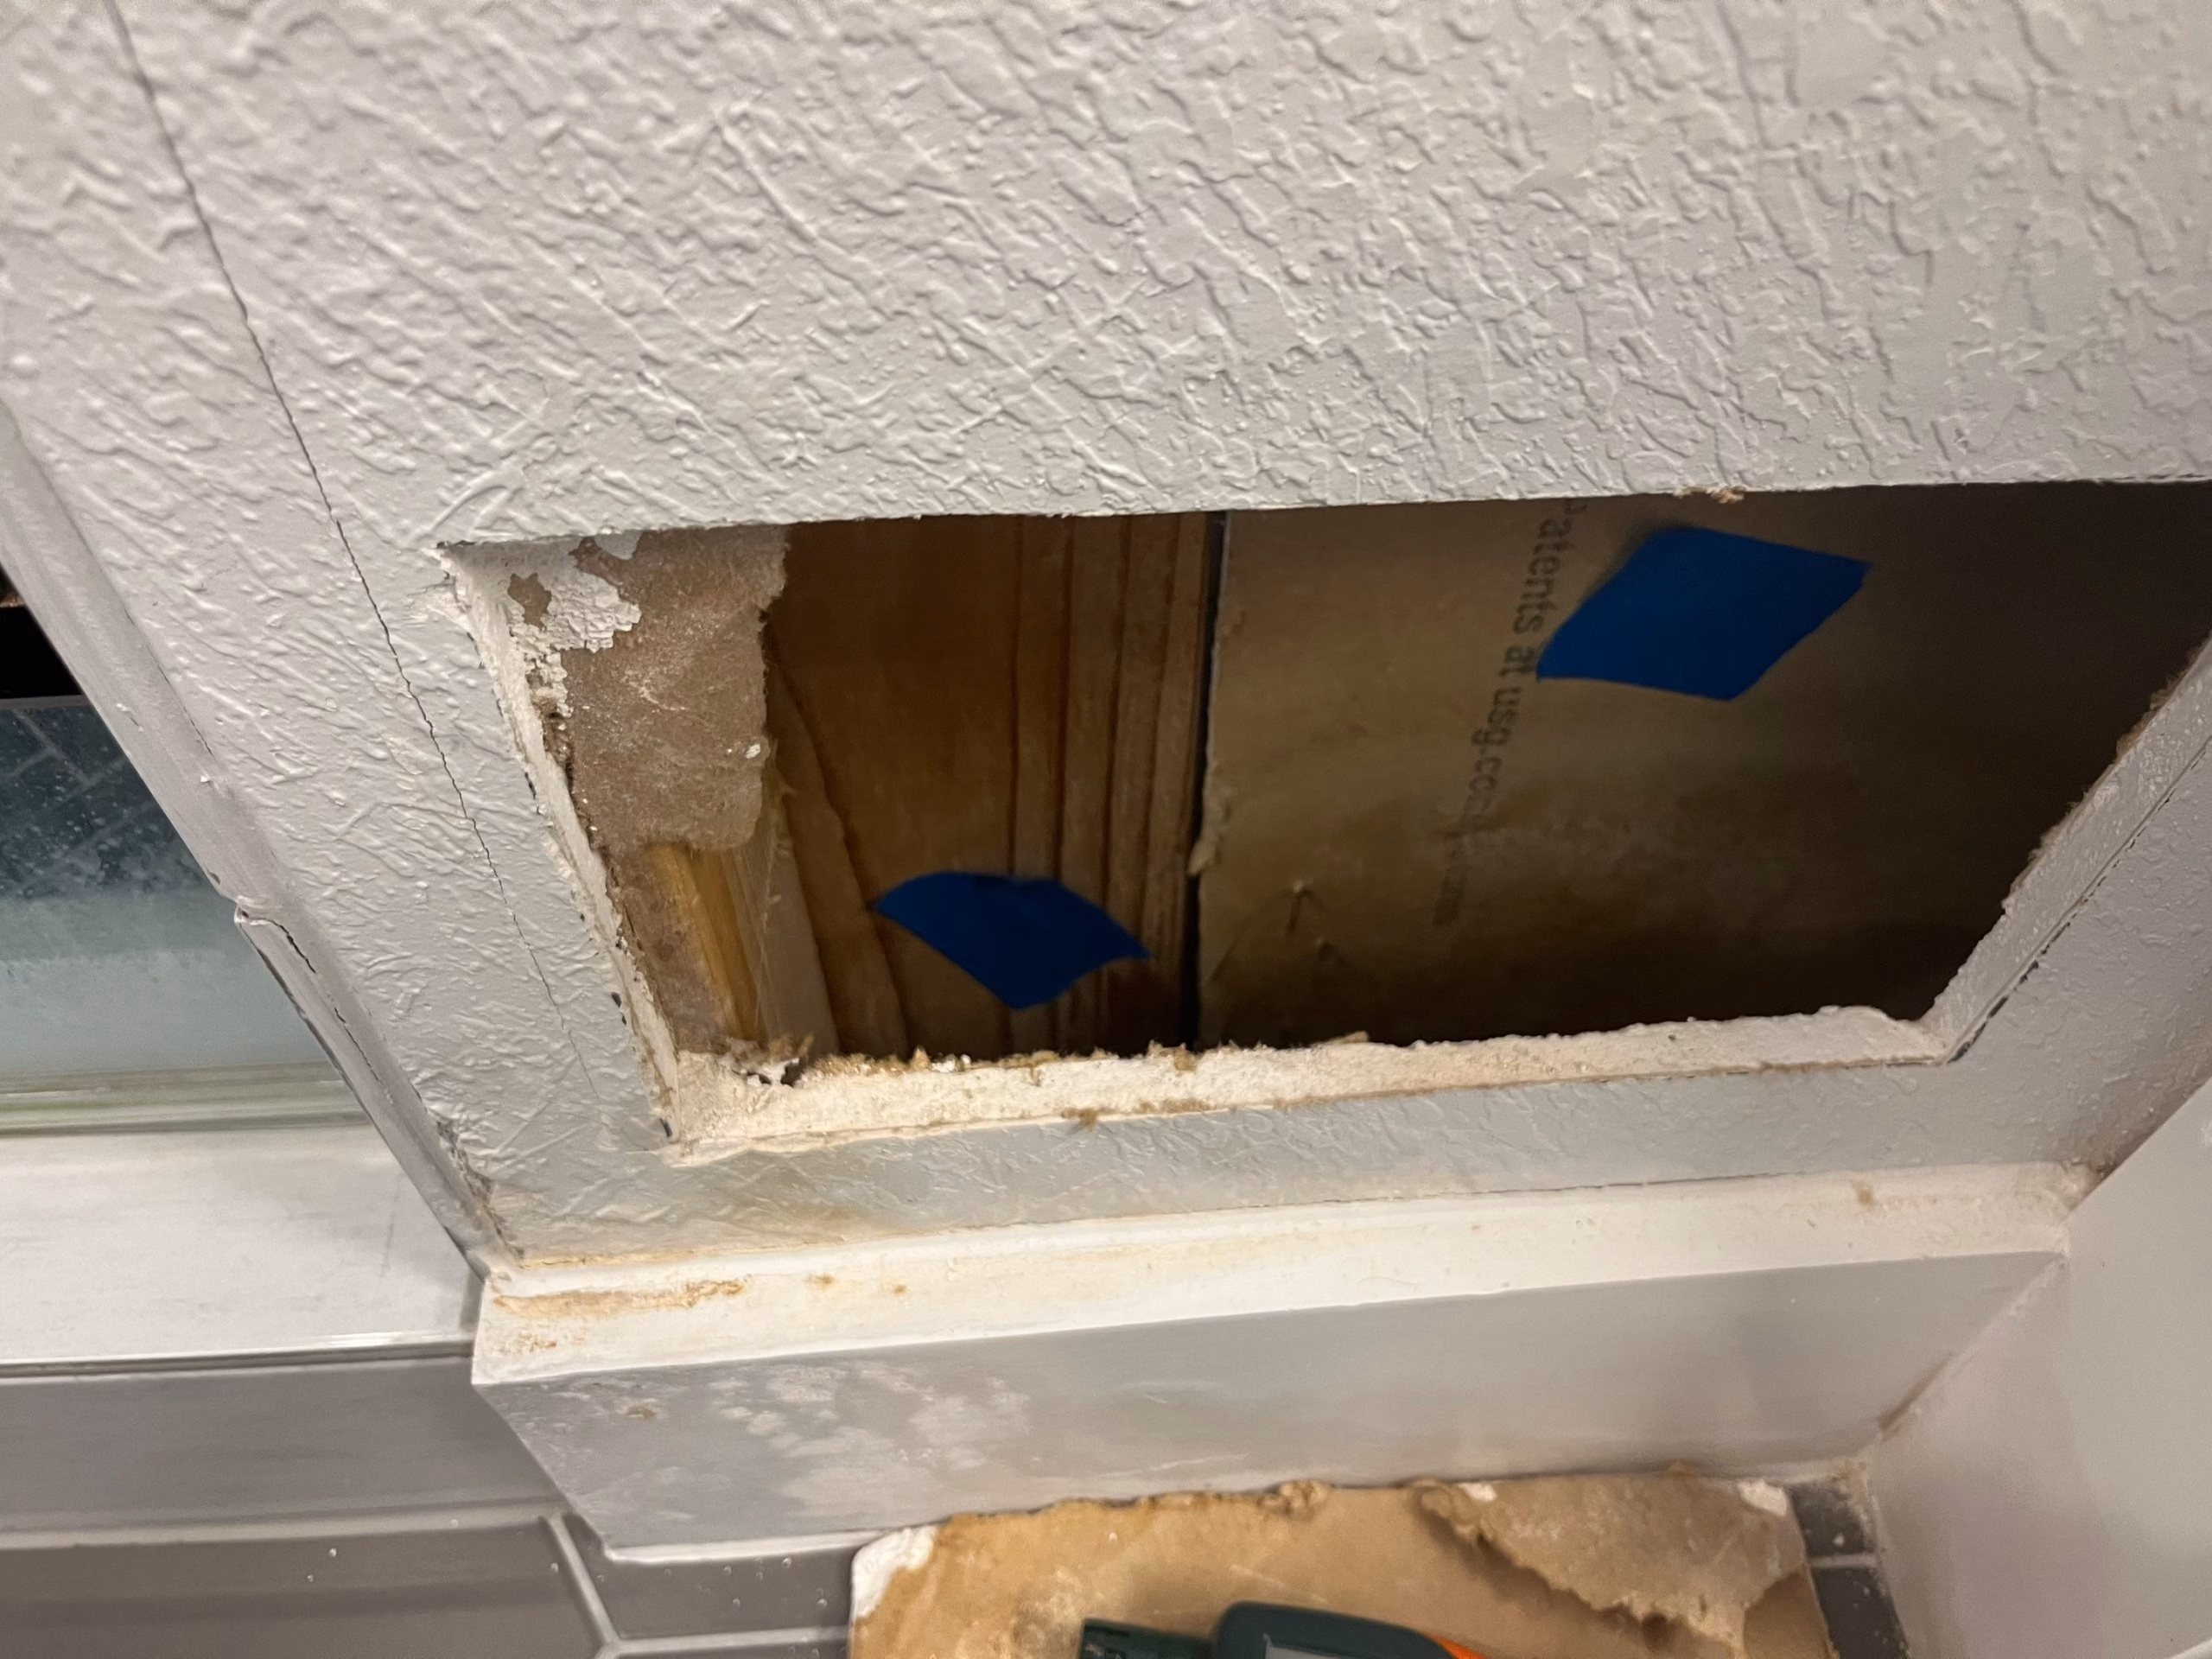
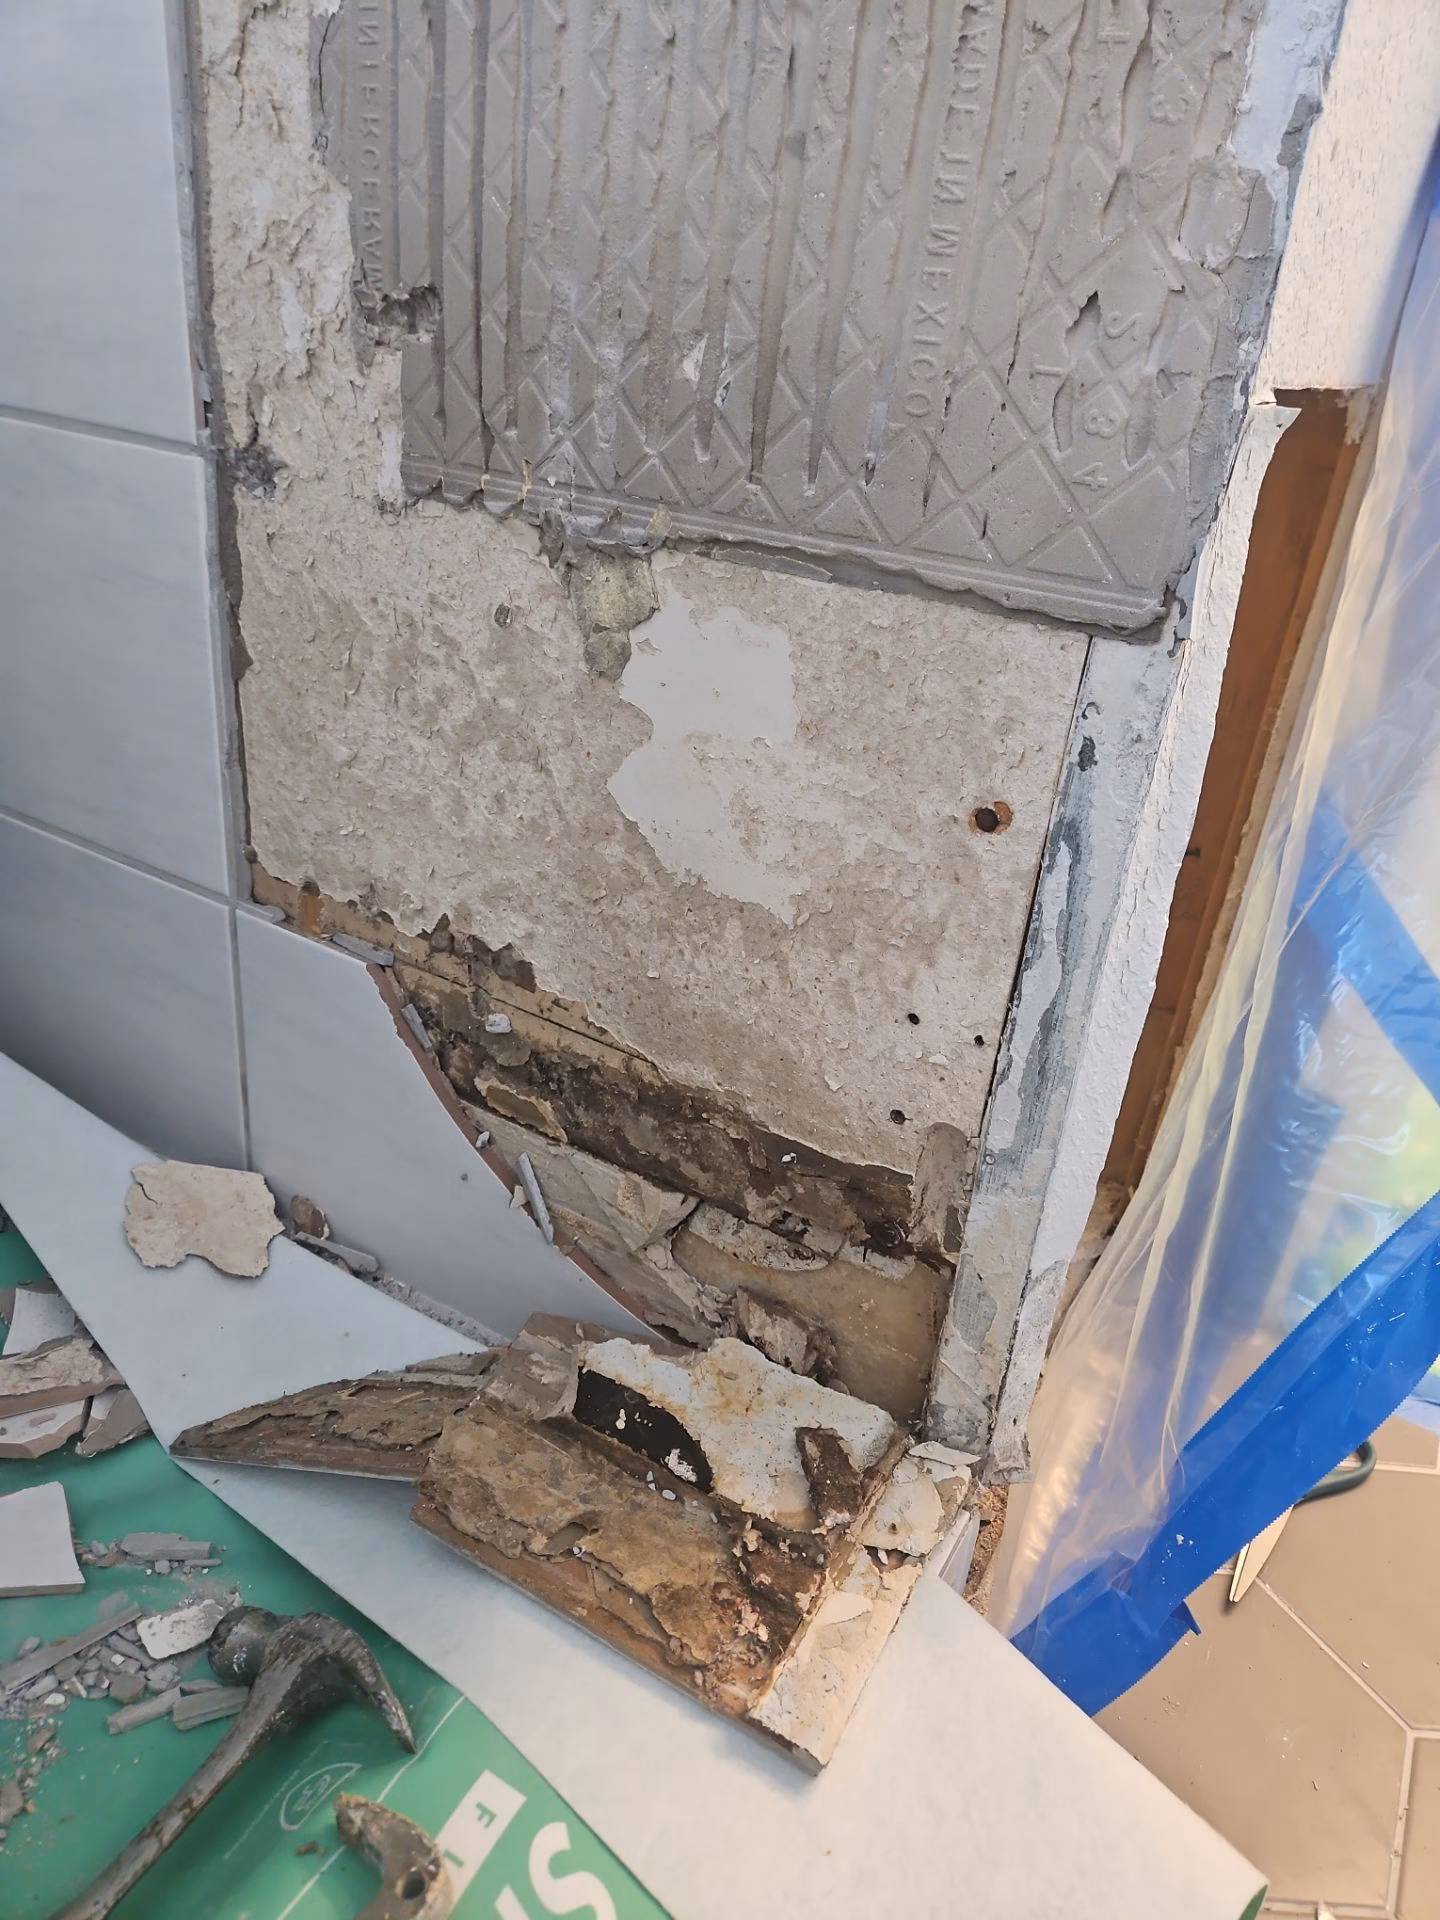
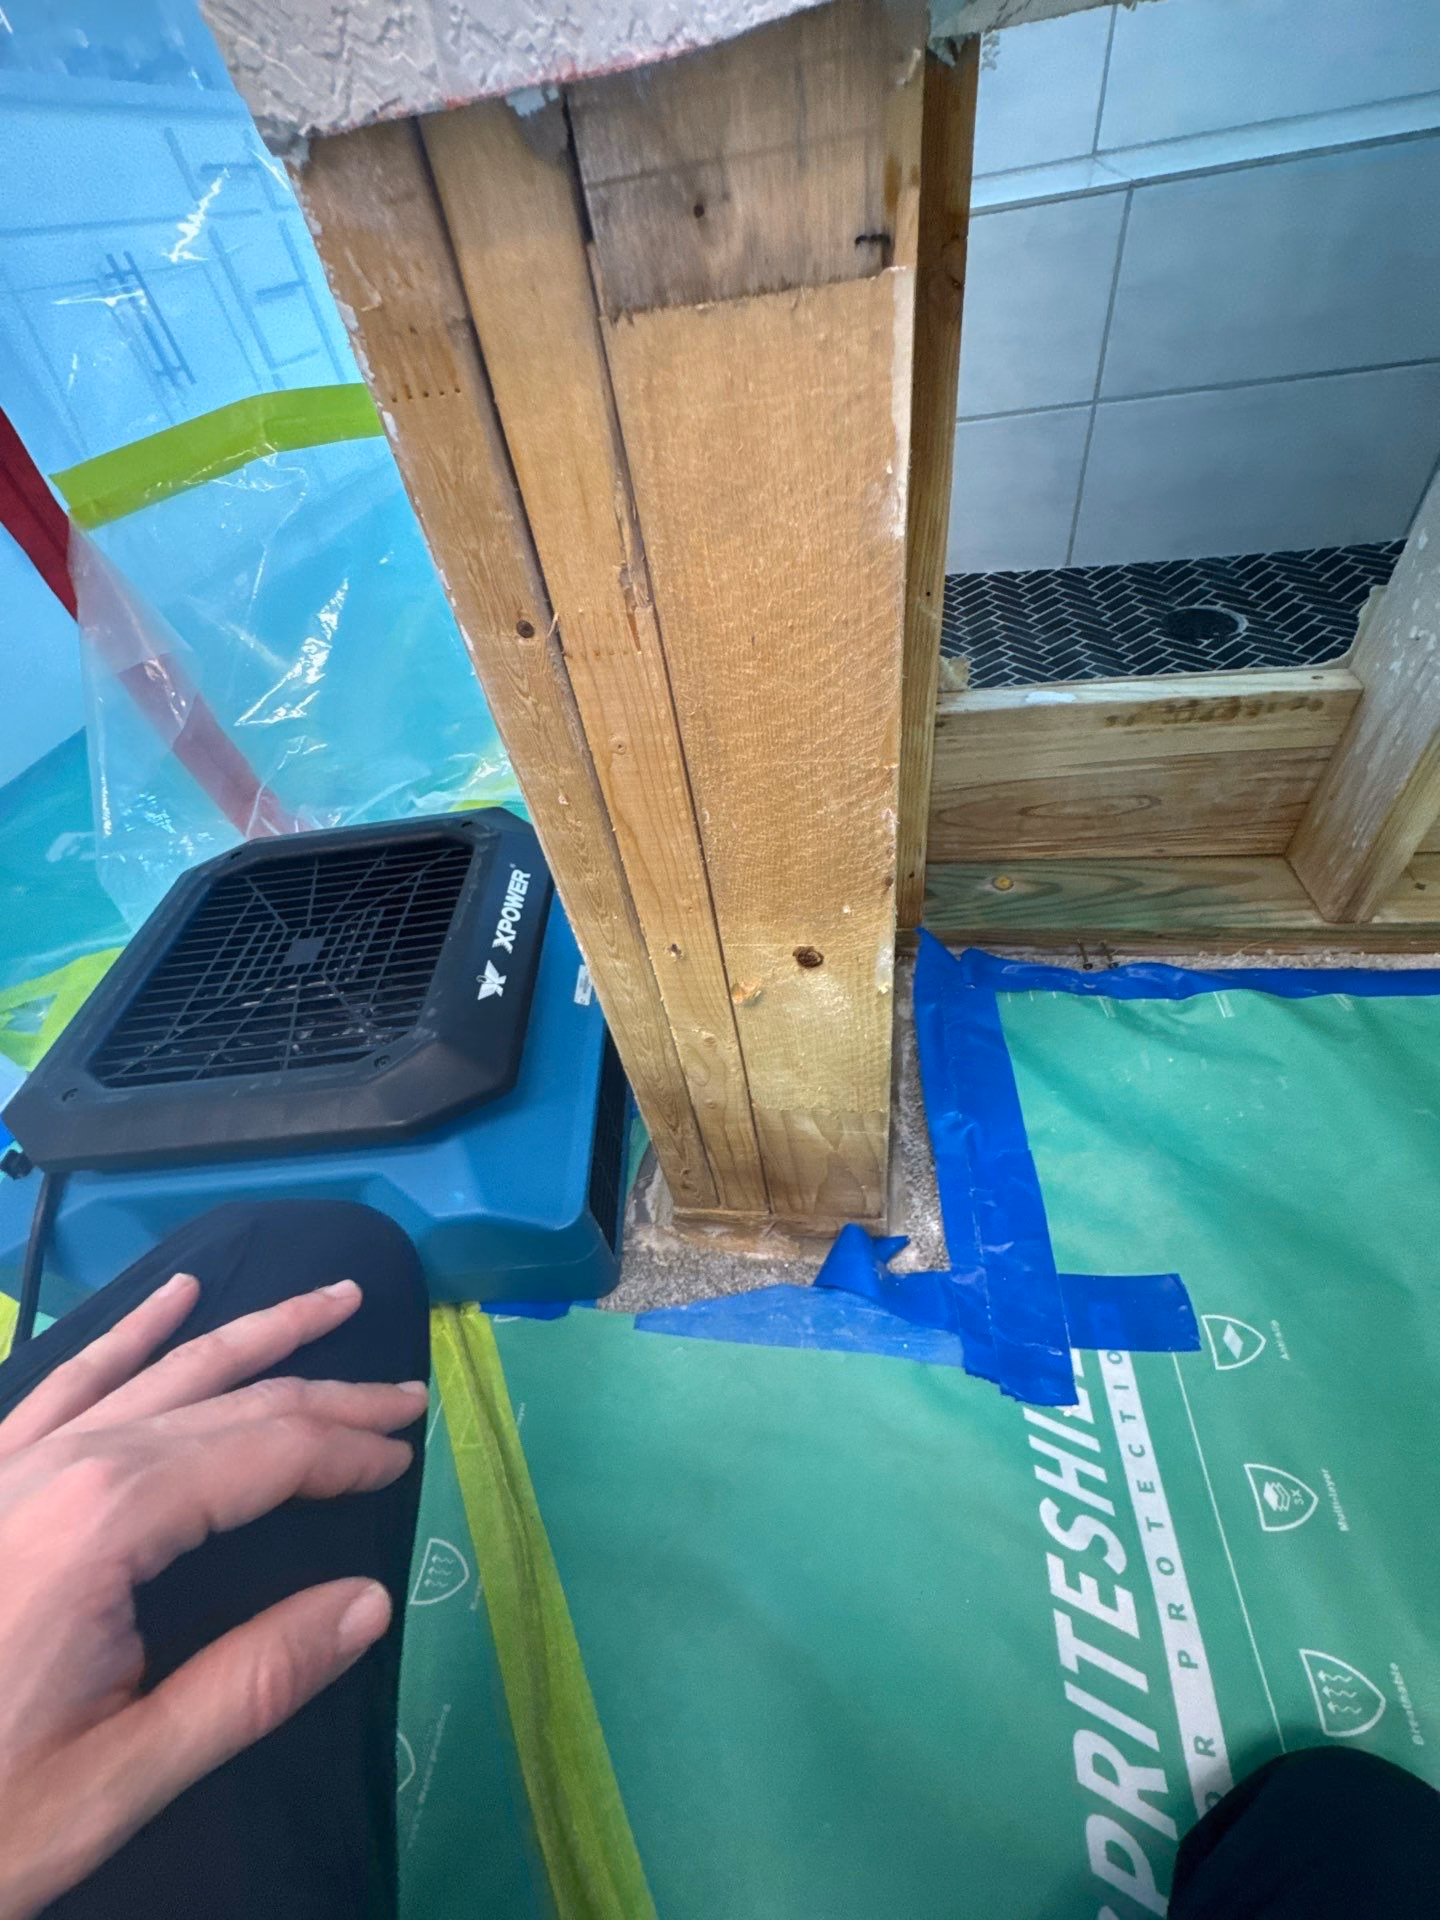
We never tear out more than we have to, and we never leave wet material behind. Once moisture readings confirmed the scope, the team removed compromised drywall, baseboards, shower tile, and the rotted substrate framing underneath. The door jamb to the closet was waterlogged too, so it came out. Every cut followed the moisture map, not guesswork.
A few quick notes from this stage of the job:
- Tile substrate behind a shower wall can stay saturated long after the surface looks fine
- Framing that’s soft to the touch needs to be replaced, not dried in place
- Door jambs are a common hidden casualty when water runs along a partition wall between rooms
Demo phase: removing damaged framing, tile, and substrate down to clean, dry structure.
|
|
|
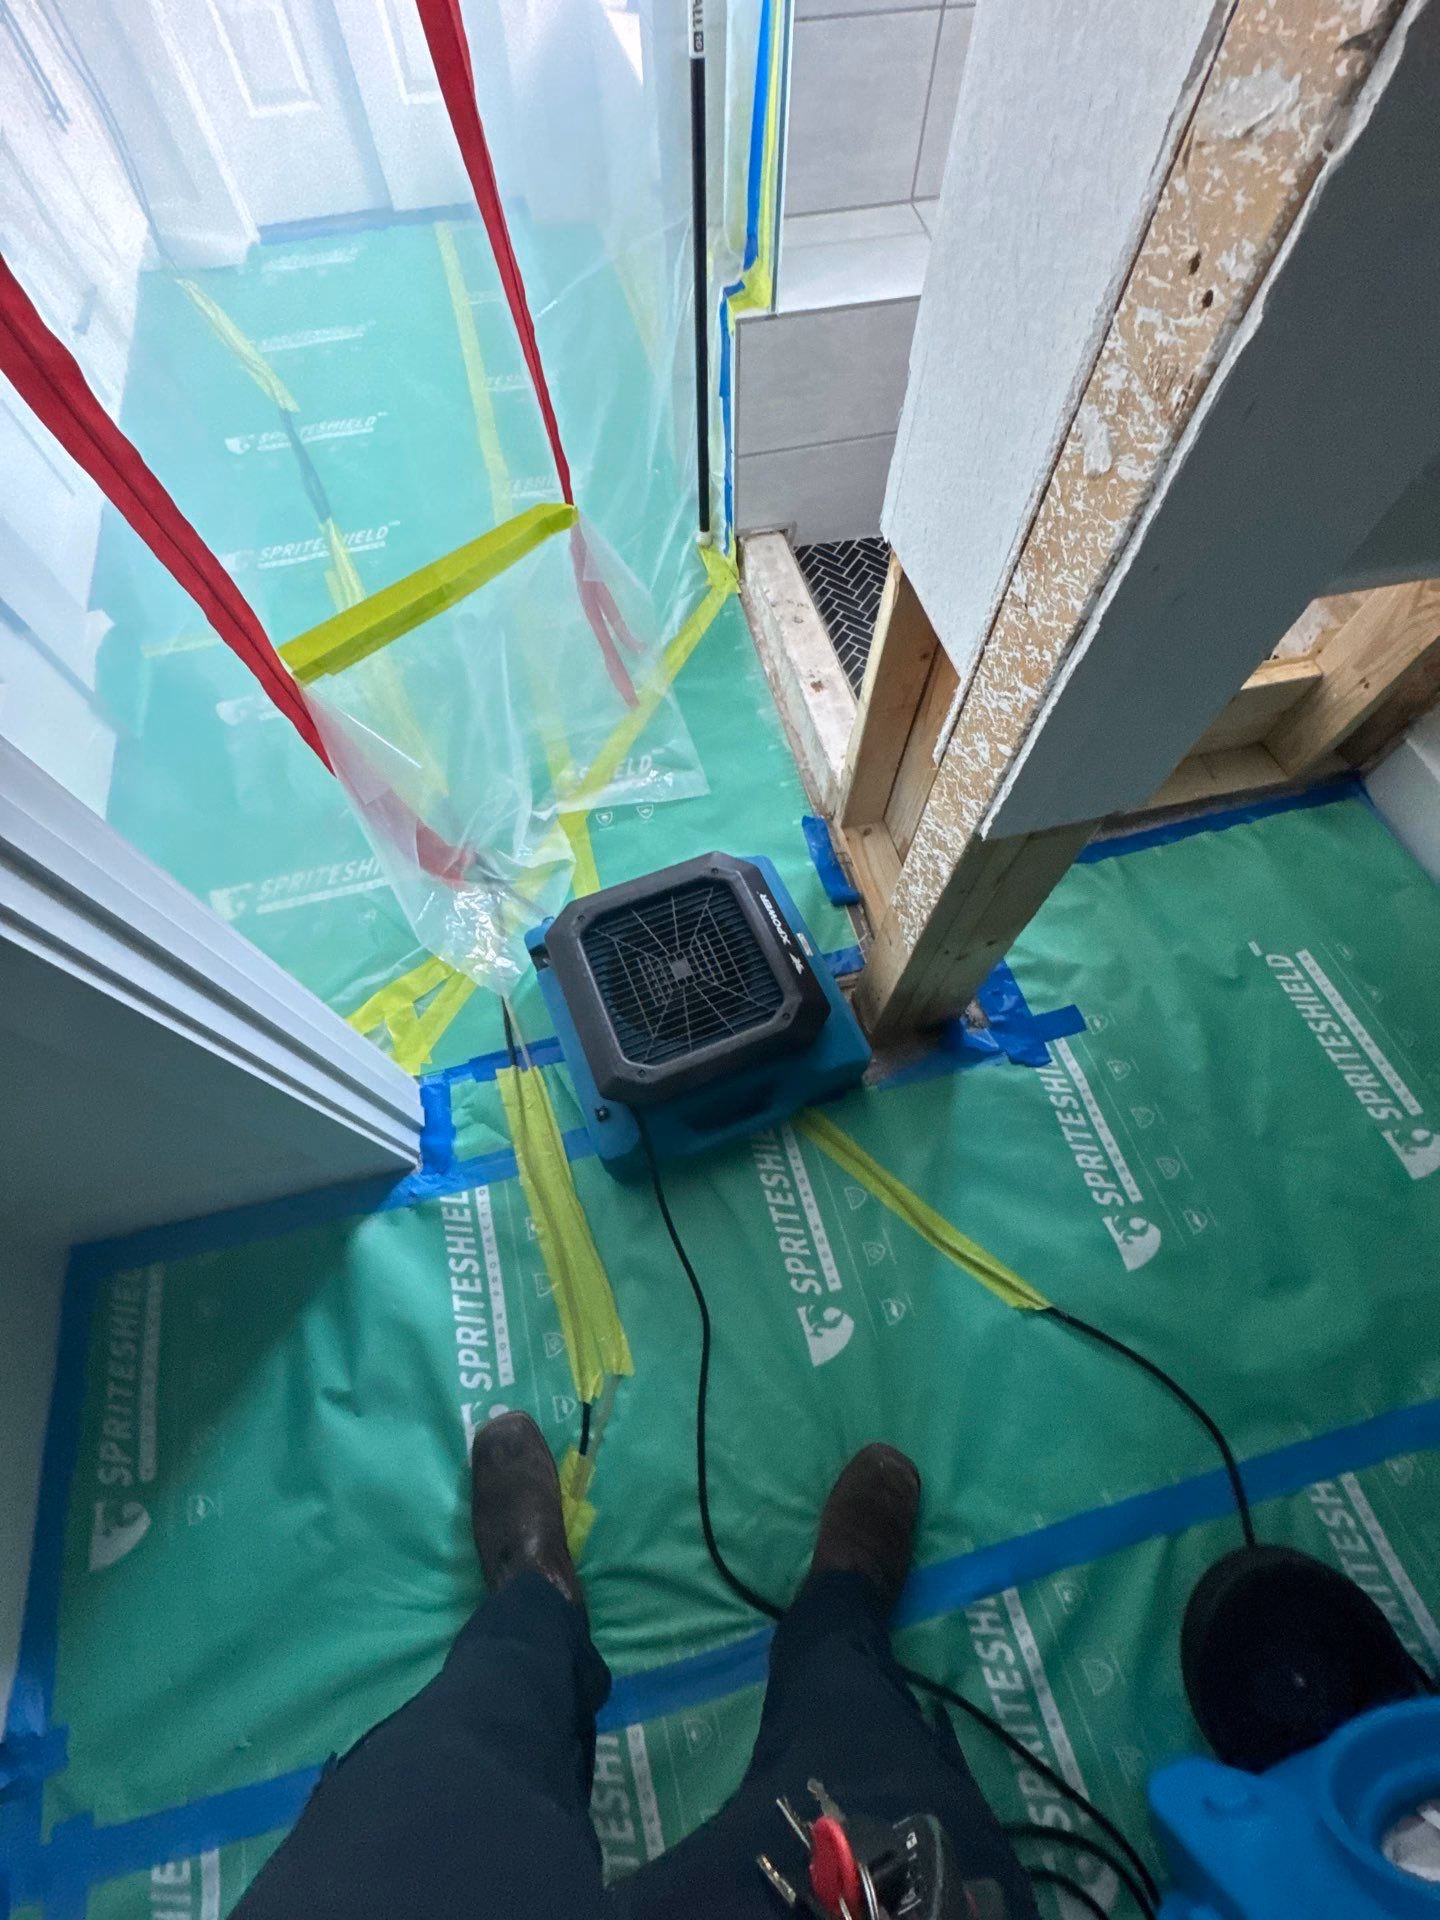
Drying Under Containment
Demo is only half the battle. Drying is the half most homeowners never see. With the wet material removed, we sealed the work zone under containment and brought in commercial air movers and dehumidifiers. Steady airflow paired with controlled humidity is what actually pulls water out of framing and substrate, not just out of the air around it.
The IICRC S500 standard we follow doesn’t just say “dry it out.” It sets specific moisture targets for wood, drywall, and substrate, and we don’t pack equipment up until every reading is back within spec. If you’ve ever wondered why a real water damage crew leaves fans humming for days on end, this is why. Skip the drying step and you’re inviting mold back into the same cavity you just cleaned out. We’d rather take an extra day than come back for mold remediation a few months later.
Building It Back Better
A rebuild after water damage isn’t just patching the hole. Once the structure was dry, our in-house carpentry and tile team rebuilt every affected surface. That meant fresh framing, new substrate, and waterproofing details done right so the finish on top has something solid to sit on for years to come.
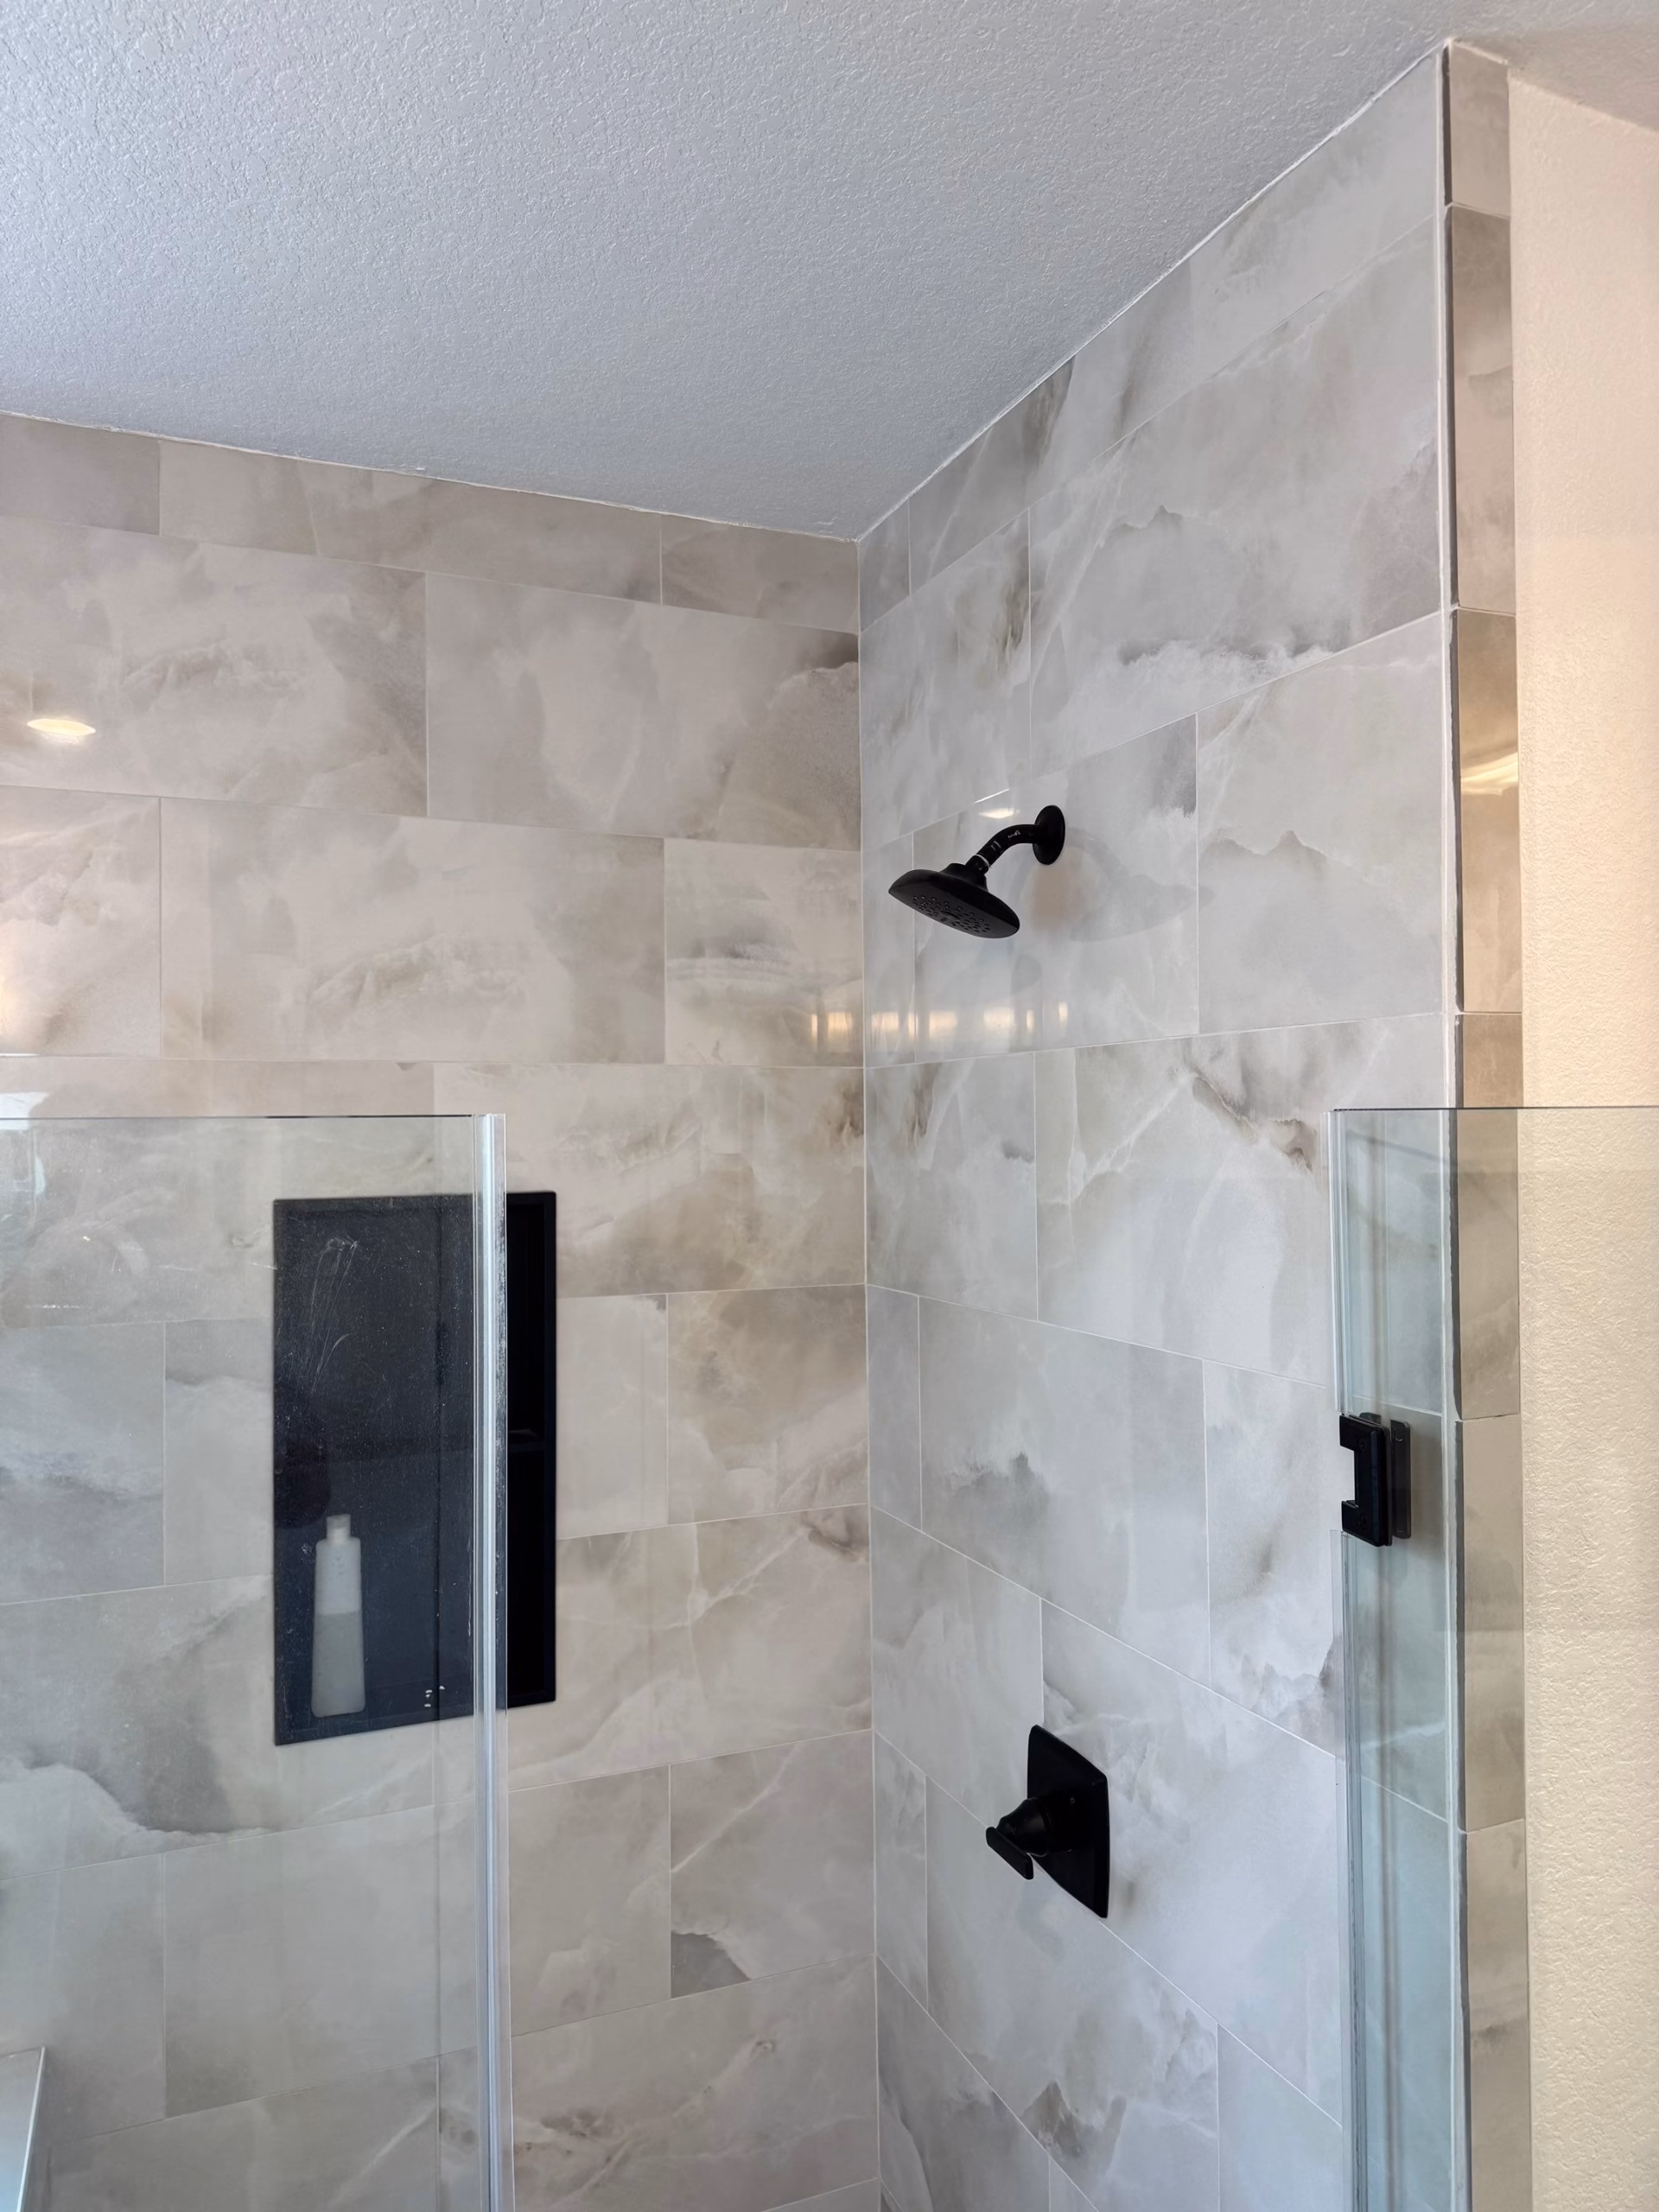
From there, the new bathroom started to take shape. A walk-in shower with marble-look tile on the walls and a herringbone tile pan underfoot. A refinished tub deck. A fully restored walk-in closet with new shelving and a new door. Doing this work in house is part of how we keep restoration and rebuild projects moving without the usual subcontractor delays. The homeowner didn’t have to coordinate three different trades. They had one crew that started with a moisture meter and finished with grout lines.
Drying and finish: containment running through the project, ending with new tile, a herringbone shower pan, and a restored bathroom.
|
|

|
What This Job Reminded Us
Two things stood out from this project that we want every Austinite to keep in mind. First, a stain near a baseboard is worth a phone call, even if it looks small. Second, the gap between a “small problem” and a full rebuild can be a single forgotten leak. Catching it early is almost always cheaper than catching it late.
You can see more recent restoration projects from our team, or browse our knowledge base for prevention tips and homeowner guides written by the same crew that handles the work.
Spotted a Stain or a Smell You Can’t Place?
We’d rather hear from you while it’s small. Our Austin Fire & Flood crew is on call 24/7, 365 days a year, and we handle mitigation and rebuild under one roof.